Howto bake Persistent Live USB - Debian Way (live-build)
Hey guys!! wish you happy festive days!!
For long time I was thinking about creating my own system. Recently, during my experiment with mic2, I came to know about live-build package.
mic2 is a package which contains tools to create Meego images. I’m yet to create my Meego Image. During Meego image creation, I had lot to do with my USB pendrive. My pendrive previously had puppy for system rescue purpose. After spending much time with Meego without any success, I thought of creating my rescue USB by downloading puppy. But decided to give live-build a try.
First we need to install live-build
$ sudo apt-get install live-build cdebootstrap
live-build is a set of scripts to build customized debian iso/usb-hdd images. I’m not going to explain each scripts, instead, just lets start building a Debian Persistant Live USB with rescue packages from Testing repository for i386 architecture. My host system is Debian Testing (amd64) Here is the steps,
Create a directory and go inside
$ mkdir live-build-base && cd live-build-base
Execute below command
$ sudo lb config --architecture i386 --binary-images usb-hdd --binary-filesystem fat32 --bootappend-live ``persistent`` --bootstrap cdebootstrap --distribution testing --mirror-binary http://ftp.de.debian.org/debian/ --packages ``usb-modeswitch`` --packages-lists ``rescue``
This tells --architecture for the live system should be i386, you can give any of debian ports like amd64, sparc, powerpc, armel, hurd-i386, kfreebsd-gnu etc., to this option. But careful, we are not using qemu to build the image. we are using cdebootstrap, thus, an amd64 host system can bake amd64, i386, hurd-i386, kfreebsd-gnu images, but it cannot bake armel, sparc or powerpc.
The next option --binary-images tells what kind of image to create, like iso or iso-hybrid or usb-hdd etc., (see man lb_config). Next option --binary-filesystem tells the format of the final root filesystem.
Next one --bootappend-live passes options to live-initramfs which is the main tool to create live debian system, see man live-initramfs to know about its options. persistent informs live-initramfs to generate initrd image which will search for partitions with label live-rw or home-rw at boot time, if initrd finds, it will instruct aufs to stage that partition as a rw layer for root filesystem.
--bootstrap cdebootstrap will use cdebootstrap while creating the image. you should install cdebootstrap in your host system first.
--distribution testing indicates which repo to download packages, you can give stable, unstable, testing, experimental, lenny, squeeze, sid and wheezy.
--mirror-binary points to the repo URL
--packages usb-modeswitch will additionally install usb-modeswitch package. I need this, because I**m using a netconnect datacard for internet access.
--packages-list rescue will get packages from /usr/share/live/build/lists/rescue file. This file is preconfigured to install specific packages for specific purpose, we can give rescue, gnome, kde, gnustep, lxde, studio etc., each have a corresponding file inside /usr/share/live/build/lists directory in your host system.
Above options prepares live-build-base directory to build your customized debian. Now, its time to build, execute the below command,
$ sudo lb build
Once started, lb build will take some time to bake the required image. Finally, you will get build.img with all your customized packages installed. Next step should be dd-ing the image to your USB pendrive. Insert it, and execute the following command,
$ sudo dd if=build.img of=/dev/sdX bs=4096
Here, /dev/sdX indicates your loaded pendrive name, it may be /dev/sdb or /dev/sdc. Once dd finishes, reboot your system and boot from your USB pendrive. You will be inside Debian Live !!!!
Next, we need to create live-rw partition in your pendrive for persistent storage (means automatically saving the changes you do in your live system). Just create a partition with label as live-rw from the free space left in your pendrive using gparted or fdisk. Then boot your machine from USB drive, once you are inside Debian Live, you can see the new partition mounded as aufs rw layer for root filesystem in /live/cow.
During lb build phase, if any error occurs, or you decide to change your configuration, remove all directories except cache from live-build-base directory. Then remove .stage directory and start lb config with your options again from live-build-base directory. This will reduce package download time, but if you are building for different architecture, then its better to delete cache also. Here is the screenshot of my image running under QEMU,
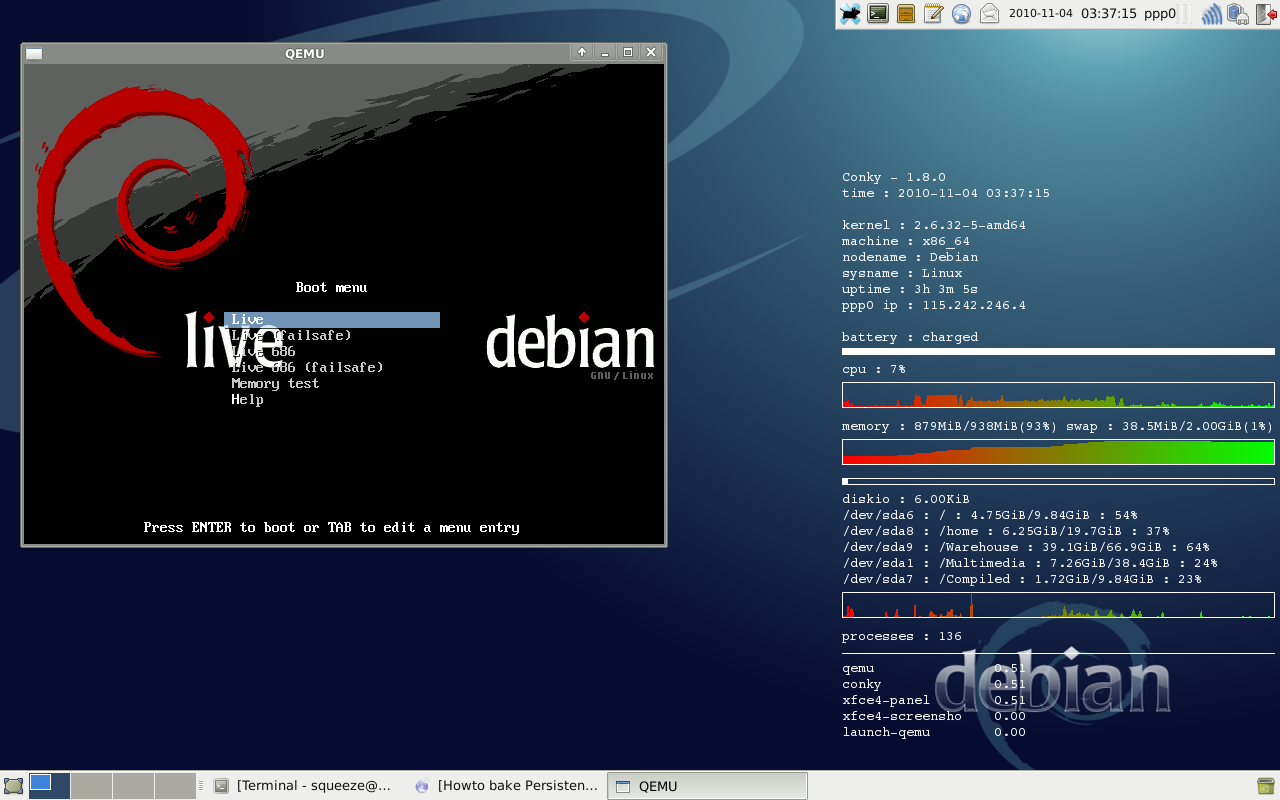
Thats it!! hope you will bake a better Debian Live cake than me!!!
